Designing a Backyard Edible Forest Garden

Transforming a Traditional Lawn into a Productive Food Forest
Imagine looking out your back window and seeing a structured, multi-layered ecosystem instead of a flat, thirsty expanse of Kentucky Bluegrass. An edible forest garden—or food forest—is a perennial polyculture that mimics the structure of a natural woodland to produce fruits, nuts, herbs, and vegetables. Instead of fighting against nature to maintain a manicured lawn, you are working with biological layers to create a self-sustaining system. This guide provides the practical steps to design, plant, and manage your own backyard food forest, moving from a single-layer monoculture to a high-yield, biodiverse sanctuary.
Designing a food forest requires a shift in how you view space. Rather than thinking in rows and seasons, you must think in vertical layers and ecological niches. A successful food forest uses sunlight, water, and nutrients efficiently by stacking plants of different heights. This method reduces weeding, minimizes the need for synthetic fertilizers, and builds soil health through constant organic matter turnover.
Step 1: Site Analysis and Mapping
Before you buy a single fruit tree or bag of compost, you must analyze your microclimates. A backyard is rarely a uniform environment; one corner might be a wind tunnel, while another sits in a low-lying depression that holds water. Use a notebook to map out the following variables:
- Sun Exposure: Track the movement of the sun throughout a standard day. Identify areas that receive full sun (6+ hours) versus dappled shade. Fruit trees generally require full sun, while certain berries and leafy greens can tolerate more shade.
- Water Drainage: Dig a small hole about six inches deep in several areas of your yard. Fill it with water and see how long it takes to drain. This tells you where you can plant moisture-loving species like elderberry or willow, and where you must avoid heavy water-logged plants like stone fruit trees.
- Wind Patterns: Observe which way the wind blows during a storm. You may need to plant a "windbreak" of hardy shrubs or tall grasses to protect more delicate fruit trees from desiccating winds.
- Soil Composition: Perform a basic soil test using a kit from a local garden center or a university extension office. You need to know your pH levels and nutrient deficiencies. A food forest thrives in soil rich in organic matter, so prepare to amend your soil heavily before planting.
Step 2: Understanding the Seven Layers of a Food Forest
The core of a food forest is its vertical structure. To maximize your yield per square foot, you should aim to fill as many of these layers as possible in your design. Each layer serves a purpose, from canopy protection to ground cover.
- The Canopy Layer: These are your largest trees. Depending on your space, this might include high-branching apple trees, pear trees, or even a walnut tree. They provide the structural backbone and shade for the layers below.
- The Understory Layer: These are smaller, fruit-bearing trees. Think dwarf varieties of stone fruits like peaches, plums, or cherries. They thrive under the protection of the canopy.
- The Shrub Layer: This layer fills the gap between trees and ground plants. Excellent choices include blueberry bushes, currants, gooseberries, and even edible shrubs like hazelnut or even rugosa rose.
- The Herbaceous Layer: These are non-woody plants that can be perennial. This includes culinary herbs like rosemary, sage, and thyme, as well as perennial vegetables like artichokes or rhubarb.
- The Rhizosphere (Root Layer): This layer consists of plants with edible roots or tubers. Consider planting garlic, ginger, or turmeric in the warmer, sheltered spots of your forest.
- The Ground Cover Layer: These plants act as "living mulch," protecting the soil from erosion and evaporation. Strawberries are a classic choice here, along with creeping thyme or clover.
- The Vertical Layer (Vines): Use vertical space by training climbing plants up your trees or fences. Grapes, hardy kiwi, or even passionfruit can add significant biomass without taking up much horizontal ground space.
Step 3: Planning Your Plant Guilds
In a traditional garden, we often plant one thing in one spot. In a food forest, we plant "guilds." A guild is a group of plants that support one another through nutrient cycling, pest management, and physical protection. Instead of a single apple tree standing alone, you plant it within a community of functional neighbors.
For example, an Apple Tree Guild might include:
- Nitrogen Fixers: Plants like clover or lupine that pull nitrogen from the air and deposit it into the soil, feeding the tree.
- Dynamic Accumulators: Plants like comfrey that have deep taproots to pull minerals from deep in the subsoil up to the surface. When the leaves die back, they provide nutrient-rich mulch.
- Pollinator Attractors: Flowering herbs like borage or lavender that ensure bees and other beneficial insects are present to pollinate the blossoms.
- Pest Deterrents: Plants with strong scents, such as garlic or chives, which can help confuse or repel common pests.
When designing your guilds, always prioritize the needs of your "anchor" plant—usually a fruit or nut tree—and then fill in the surrounding space with functional companions. This approach builds a resilient ecosystem that eventually requires less human intervention.
Step 4: Implementation and Soil Building
You cannot simply dig a hole and drop a tree in the ground if you want a long-term forest. You must build the "foundation" first. This is where many gardeners fail by rushing into planting. I recommend the "Sheet Mulching" or "Lasagna Gardening" method to prepare your site.
The Sheet Mulching Process:
- Mow the Area: Mow your existing grass as short as possible. Do not remove the clippings; leave them on the ground to provide immediate organic matter.
- Cardboard Layer: Lay down thick, non-glossy corrugated cardboard over the entire area. This smothers weeds and grass without the use of herbicides. Overlap the edges by at least six inches to ensure no light reaches the grass.
- Nitrogen-Rich Layer: Spread a thick layer (2-3 inches) of well-rotted manure or compost over the cardboard. This provides the fuel for the soil microbes.
- Carbon-Rich Layer: Add a layer of wood chips, straw, or fallen leaves. This provides structure and long-term moisture retention.
- Wait (or Plant Through): You can plant your trees directly through the cardboard by cutting an "X" in it, but for the best results, let this pile sit for a few months to begin the decomposition process.
As your food forest matures, your primary job shifts from "planting" to "managing biomass." This means adding more mulch, pruning trees to encourage growth, and ensuring that your layers are not competing too aggressively for light. If one layer becomes too dominant, you may need to prune it back to allow light to reach the herbs and ground covers below.
Integrating Aesthetics and Function
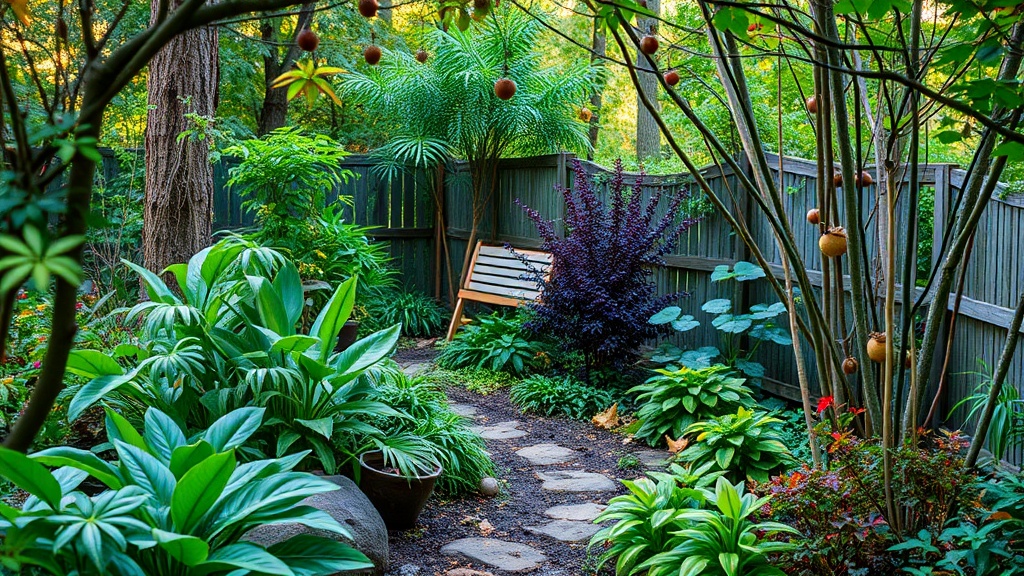
A common misconception is that a food forest must look like a messy thicket. While it is more "wild" than a lawn, you can still incorporate design elements that make it a beautiful part of your home. You can use paths made of cedar mulch or flagstone to define different zones, and use structural plants to create visual interest. If you have a seating area, consider how your forest can support it. For instance, if you have a dedicated space for relaxing, you might want to integrate a backyard fire pit sanctuary nestled within the shelter of your fruit tree canopy.
Furthermore, the edible plants you choose can be highly ornamental. A blueberry bush with its colorful foliage or a flowering currant offers much more visual delight than a standard hedge. You can even design your garden to support social activities, such as a backyard cocktail garden, by strategically placing mint, lemon verbena, and berry bushes near your outdoor seating areas.
Long-Term Maintenance and Expectations
A food forest is an investment in time. In the first two years, you will spend more time weeding and ensuring moisture levels are consistent. However, as the root systems establish and the canopy closes, the system becomes increasingly self-sufficient. You will move from being a "gardener" who fights weeds to a "steward" who manages a living system.
Expect a learning curve. Some plants will thrive, while others may struggle in your specific microclimate. This is part of the process. Instead of seeing a plant failure as a mistake, see it as data. If a certain berry bush struggled, perhaps that area needs more drainage or more sunlight. Use that information to refine your next planting round. The goal is not perfection, but a productive, thriving, and wildly beautiful ecosystem that feeds both your family and the local wildlife.