Spring Soil Preparation: 7 Essential Steps for a Thriving Zone 7b Garden

Spring Soil Preparation: 7 Essential Steps for a Thriving Zone 7b Garden
Ready to roll up your sleeves and turn that winter‑hardened earth into a living, breathing garden? In just a few days, Asheville’s soil is waking up – and if you give it the right care now, you’ll harvest more veggies, herbs, and blooms all season long.
Why does soil prep matter? Because healthy soil is the foundation of every edible‑jungle garden. Skipping this step is like trying to build a house on sand – the whole thing can crumble when the first storm hits.
What’s the first step to reviving spring soil?
We’ll walk through seven practical actions you can start today, March 18, that fit right into your busy schedule and the zone 7b climate of Asheville.
1️⃣ Test Your Soil’s Health (and pH)
Before you add anything, know what you’re working with. My Soil Testing guide shows how to grab a simple kit, take a sample, and interpret the results. If the pH is too low (acidic), a lime amendment will raise it; if it’s too high, elemental sulfur can bring it down.
2️⃣ Clear Debris and Add Organic Matter
Remove last season’s plant remnants, stones, and weeds. Then work in a 2‑3 inch layer of well‑rotted compost (or hot‑composted material if you have a pile). This feeds microbes, improves structure, and boosts water retention – perfect for the water‑wise garden you’re aiming for.
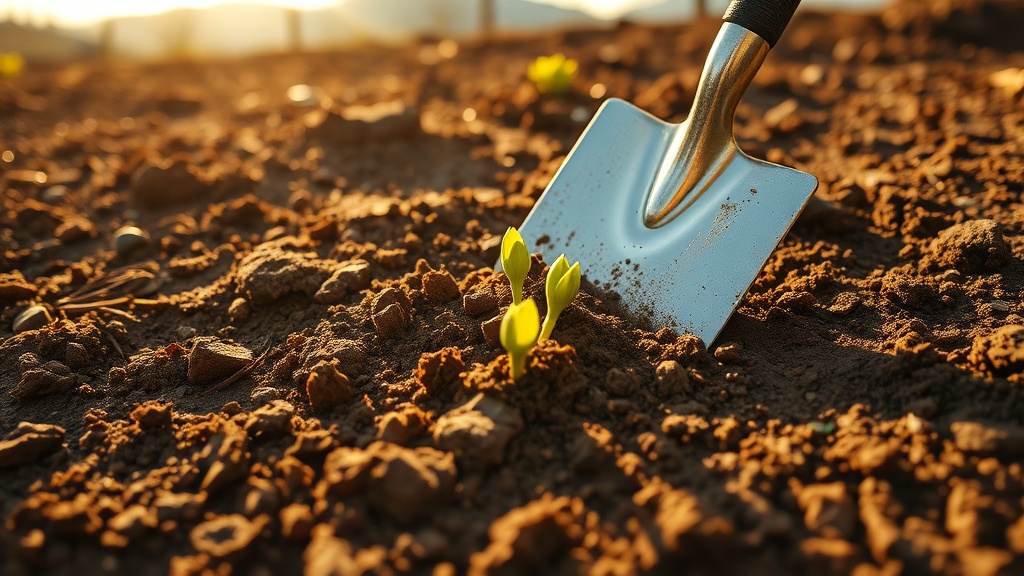
3️⃣ Loosen the Soil Without Over‑Tilling
Use a spade or a garden fork (my favorite compost fork) to break up compacted layers to a depth of 8‑10 inches. Avoid turning the soil too aggressively; you want to preserve the natural soil crumb and the little critters living in it.
4️⃣ Incorporate Cover Crops or Green Manure
Plant a fast‑growing cover crop like clover or rye now. These plants fix nitrogen, suppress weeds, and, when you cut them down, add a fresh layer of organic matter. It’s a “soil‑first” move that aligns with my “dirt‑under‑the‑fingernails” philosophy.
5️⃣ Mulch Early to Lock in Moisture
Spread a 2‑inch blanket of shredded leaves, straw, or wood chips around your beds. Mulch reduces evaporation, moderates temperature swings, and feeds the soil as it breaks down. For a pollinator‑friendly yard, choose natural, untreated mulch.
6️⃣ Adjust Nutrient Levels with Targeted Amendments
Based on your soil test, add organic amendments:
- Compost for overall fertility.
- Bone meal for phosphorus (great for root development).
- Blood meal for nitrogen (ideal for leafy greens).
- Rock phosphate for long‑term phosphorus.
Follow label rates – a little goes a long way.
7️⃣ Install Simple Irrigation for Consistent Moisture
Even a modest drip‑line or soaker hose can keep the soil evenly moist without waste. My budget‑friendly irrigation guide walks you through affordable kits that fit any small yard.
What’s the next move after the soil is ready?
Start sowing your favorite spring salad garden or plant perennials from the edible perennials guide. Healthy soil means stronger plants, fewer pests, and a richer harvest.
Takeaway
Give your garden the love it needs now, and you’ll reap a season of abundance with less effort. Grab your soil test kit, spread that compost, and let the earth do the heavy lifting.
Ready to get started? Grab a spade, a compost fork, and a fresh bag of compost – then head outside. Your garden will thank you.