How to Install a Rustic Rain Barrel for Water‑Wise Gardening

Why a Rain Barrel? Can I Really Capture Enough Water?
Ever watched a spring storm roll over the Blue Ridge and thought, "If only I could bottle that rain for my garden?" I did. Installing a rain barrel turned that daydream into a practical, water‑wise solution for my 1/4‑acre suburban lot. A rain barrel not only reduces my water bill, it buffers my garden against drought, and gives me a tangible way to practice smart irrigation without a fancy controller.
What Do I Need Before I Start?
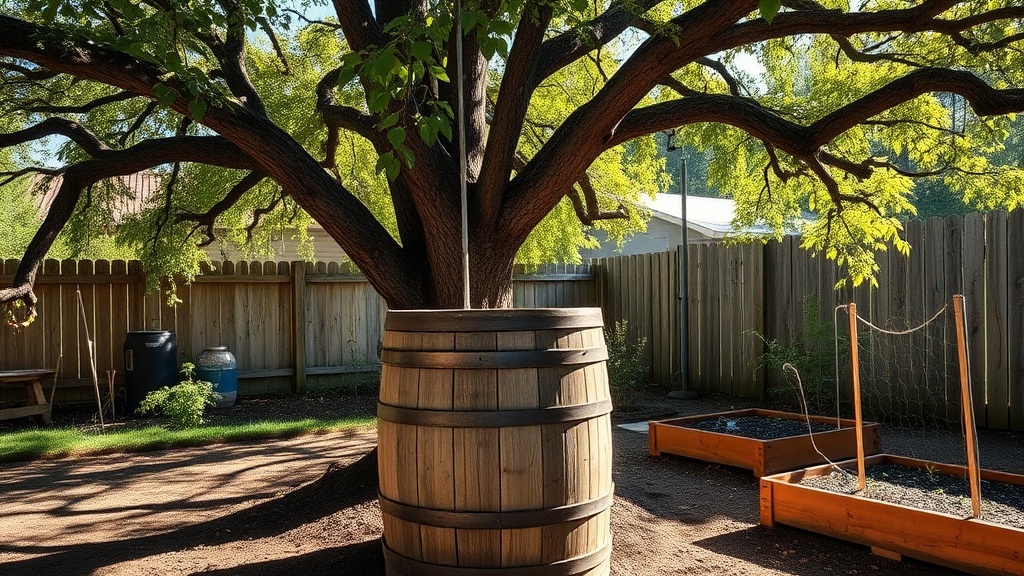
- Barrel: A 55‑gallon food‑grade barrel (I chose a reclaimed cedar barrel for its rustic look).
- Location: A sunny spot under a downspout within 3‑4 feet of the house.
- Tools: Drill with a 1½" spade bit, PVC pipe (½"), T‑valve, fine‑mesh screen, silicone sealant, and a sturdy base (cinder blocks or a wooden platform).
- Permits: Check with the North Carolina Department of Environmental Quality—most residential setups are exempt, but some HOA rules apply.
Step‑by‑Step: From Barrel to Garden Gold
- Prep the Barrel. Clean it inside with a diluted bleach solution (1 tbsp bleach per gallon of water). Rinse thoroughly and let it dry. I love the smell of fresh cedar; it reminds me of the forest floor.
- Cut the Inlet. Drill a 2‑inch hole near the top of the barrel, about 2‑3 inches below the rim. Insert the PVC inlet pipe, seal with silicone, and attach a fine‑mesh screen to keep leaves out.
- Install the Overflow. Near the bottom, drill a 2‑inch hole for the overflow pipe. This directs excess water safely away from the foundation—essential in our rain‑heavy spring.
- Connect to the Downspout. Cut the downspout about 2‑3 feet from the gutter, attach a T‑valve, and run a short PVC run into the barrel inlet. Seal all joints with silicone.
- Set the Barrel on a Stable Base. I stacked three cinder blocks and placed a wooden plank on top. This raises the barrel, giving gravity‑feed pressure for later irrigation.
- Hook Up a Simple Irrigation Tap. Screw a standard garden hose bib onto the overflow outlet. For a drip‑feed, attach a hose splitter and run a ½" drip line to your beds.
- Seasonal Maintenance. In late fall, empty the barrel, clean the interior, and store the barrel upside down to prevent mosquito breeding. Hot composting works well with the leftover water.
How Much Water Can I Really Harvest?
In Asheville (zone 7b), a 55‑gallon barrel captures roughly 10‑12 inches of rain on a 100‑square‑foot roof. That translates to about 30‑35 gallons per moderate storm—enough to water a vegetable patch for a week. Pair it with vertical water‑wise designs and you’ll stretch every drop.
Common Mistakes and How to Avoid Them
- Placing the Barrel Too Close to the House. Water can seep into foundations. Keep at least 2 feet away.
- Skipping the Mesh Screen. Leaves and twigs clog the inlet, causing overflow.
- Forgetting the Overflow Path. Direct overflow to a dry area, not a sidewalk.
- Using a Non‑Food‑Grade Barrel. Chemicals can leach into the water and harm edibles.
Takeaway: Turn Rain into Garden Resilience
Installing a rain barrel is one of the simplest, most satisfying DIY projects you can do for a water‑wise garden. It aligns with my philosophy—"If something isn’t eating your plants, your garden isn’t part of the ecosystem yet." A barrel gives the garden a steady, natural water source while letting me feel the rain’s rhythm through the barrel’s gentle slosh.
FAQ
- What size rain barrel do I need? For a typical 1/4‑acre lot, a 55‑gallon barrel captures most spring storms. Larger properties may need multiple barrels.
- Can I connect a rain barrel to my irrigation system? Yes—use a simple gravity‑fed hose bib or a low‑pressure pump for drip lines.
- How do I maintain the barrel? Clean it annually, use a fine mesh screen, and empty it before winter to prevent freezing.